Indian embroidery is centuries old and richly varied. If you are just starting, here are five stitches that form the foundation of almost everything else you will learn.
1. Running stitch — the simplest
The most basic. A small straight stitch worked through fabric in a line. Despite its simplicity, it is the foundation of Kasuti (Karnataka), Kantha (Bengal), and Sashiko (the Japanese cousin).
Practice tip: keep stitches even. This is hard the first time.
2. Back stitch — your outline tool
A reverse-direction stitch that creates a solid line. Used for outlining motifs, writing names on fabric, and drawing fine details. If you can master back stitch with consistent tension, the rest becomes much easier.
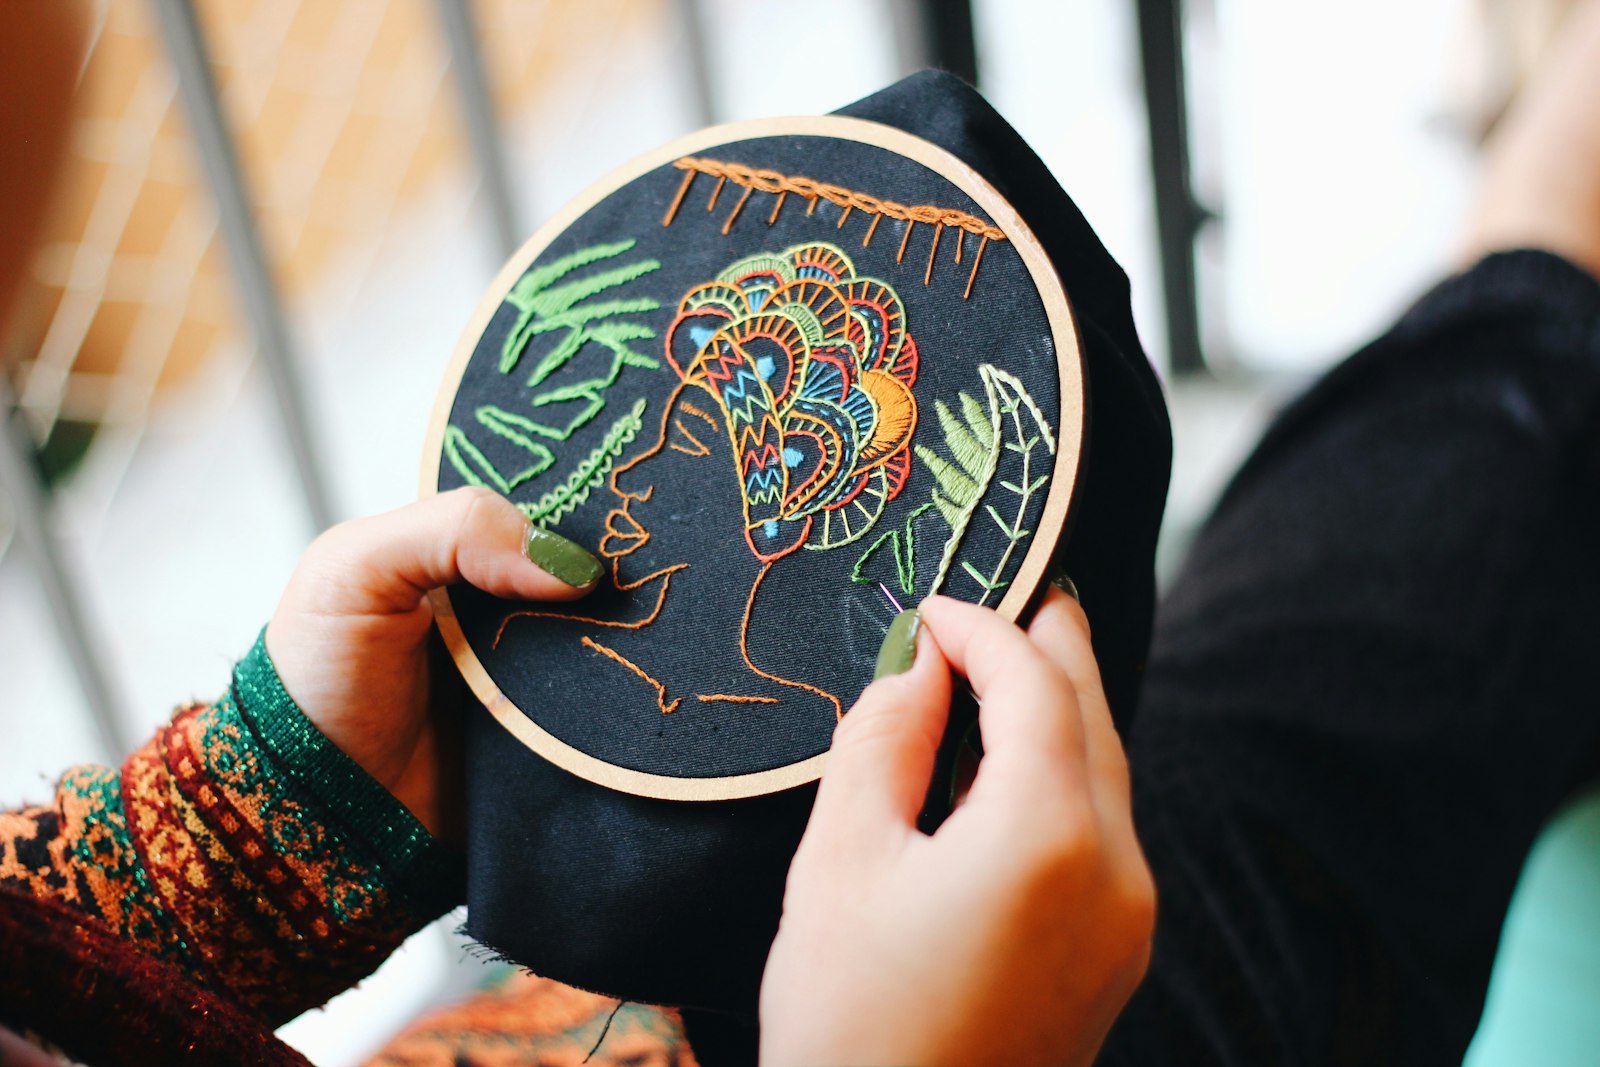
3. Chain stitch — the workhorse
A series of loops linked together. The foundation stitch for Ari and Zardozi work — billion-dollar craft traditions built on this one stitch. Worked with a tambour needle, chain stitch becomes Ari work.
4. Satin stitch — filling shapes
Long parallel stitches that fill an area with smooth coverage. Used everywhere — sunflowers, leaves, monograms. The hardest of these five because uneven satin stitch shows immediately.
5. French knot — texture and accent
A small raised knot. Adds dimension. Used to fill centres of flowers, depict fruit and grain, add stars. Once you can make a clean French knot, you will use it everywhere.
Putting it together
Almost every Indian embroidery tradition uses these five stitches. Phulkari from Punjab. Chikankari from Lucknow. Sujini from Bihar. Kashmiri Kashida. They all build on this foundation.
In our hand embroidery course at Diya, we cover all five plus 15 more in 2 months. Each student finishes a sampler showing their progression.
WhatsApp 98860 21137 to enrol or watch a free demo.